
How to Win Killjoy Post-Plants in VALORANT by Timing Your Nanoswarms

The Spike is down, you have two Nanoswarms on the site, and the defender taps the defuse. You press both activations and hear the gratifying rush of the swarm. The defender backs away, waits, and returns after the damage clears. Now you have to cross a smoke and clear two angles just to see the Spike. The round was still winnable when you heard that first tap. What went wrong was the sequence of decisions that gave one sound control over both grenades and left your rifle too far away to replace them. Killjoy's attacking post-plant is a timing problem you can begin solving before the Spike is planted. The plant position determines which parts of the defuse area you can cover. Your route away from the site determines whether you can see the Spike when a smoke lands. The positions of your teammates determine whether a tap is worth answering with utility or with someone else's rifle. This guide follows that sequence from site entry to the final seconds, with examples for open plants, covered plants, smokes, and one-versus-two retakes. Its central question is what you can make a defender spend to reach, start, and finish the defuse, and how to save a reliable answer for the attempt that could actually win the round.
1. Before the plant, decide where the round will end
Work backward from the position you can hold
As your team enters, look for the cover you can realistically occupy after the plant. Suppose the Spike can go on either side of a box. From the side facing your entry lane, a teammate can see a defender crouching to defuse while you shelter behind the corner. From the other side, the box hides the defender from that same teammate. The two placements can be close enough to feel interchangeable to the person planting, yet they produce different post-plants. In the first, your teammate can punish a defuse while you reserve a swarm for a smoke or a second defender. In the second, an untouched grenade or a risky swing may be your only answer. Call the position relative to something concrete, such as “plant on the near face for our entry lane.” Make that call while the carrier can still choose. If the site is contested and the exposed plant would put the carrier in a crossfire, take the safer plant and immediately adjust where the team will hold. One good adjustment is to leave one rifle close enough to contest the hidden side while the rest of the team moves to safer cover. Treat the plant choice and the retreat route as one decision, because you will have to play them together as soon as the defenders arrive.
Check the defender's feet
Picture where a defender's feet can be while they interact with the Spike. Your grenade placement should answer the safest usable defuse position, which may be beside a box edge or on the opposite side of the Spike from where your teammate stood to plant. A grenade placed on the plant marker can look centered in a clip while leaving the approach you actually care about poorly covered. In a custom game, ask a partner to plant in the exact spot you call in matches. Have them approach from each likely retake entrance, stop at the first place they can defuse, and show you where they are standing. Check the positions from both your own cover and your teammate's angle. A small change in the plant may move a defender from open ground behind a piece of cover, even if the Spike is still visible. Repeat the check after a smoke goes down. The smoke can take away a rifle angle while the defender still stands in the same reachable space. That is precisely the moment when an otherwise ordinary Nanoswarm becomes valuable. If the plant is improvised under pressure, take a quick look at where it actually lands and mentally discard any prepared setup that depends on a different spot. A reliable short throw to the real plant is worth more than a practiced throw to an empty square.
2. Turn the plant into a two-layer defense
Give each Nanoswarm a separate assignment
When you can place both grenades safely, give each charge an assignment before the fight starts. The first can deny the safest covered defuse position, while the second covers the same problem later from a placement that is harder to clear in the same sweep. Alternatively, reserve one charge for a short throw once you know which angle the retakers have taken. This is especially useful when the plant carrier is forced away from the planned spot at the last second. A swarm already on the ground is fast to use once the retake begins, and a held swarm can adapt to a changing round if you have the cover and time to deploy it. Killjoy's Nanoswarm is a damaging area ability that she activates after deploying the grenade. Its presence gives you a way to contest space even when your rifle cannot see the player standing there. That makes deployment and activation two distinct decisions. The first asks whether the location is worth covering. The second asks whether denying that location now will affect the defender's options later. Putting both charges down can be entirely sensible if you can get to cover, identify each one easily, and expect them to survive long enough to matter. On an exposed site, one charge deployed and one still available can leave you with more ways to recover after the retake starts.
Watch what a retaker can clear in one pass
Consider the route a defender will take while clearing your setup. If both grenades are easy to find while looking at the same floor patch, one sweep can remove two future delays. If one device is visible to an approaching defender and the other requires a different angle to check, the defender has to choose where to look or spend more time clearing. Test each placement for two things in the same practice session. First, make sure it reaches the real defuse position. Second, have your practice partner try to spot and clear it from the direction a defender would naturally enter. A device hidden from your own view may be obvious from theirs. The reverse is also possible. The best concealment depends on both the plant and the retake route, and unusual placements are only useful when their coverage is real. If you lose both charges to the same piece of clearing utility in a match, review how their positions were related to each other before deciding the entire setup is bad. Spacing them apart, changing one approach angle, or keeping a charge in reserve can preserve the same plant concept. In a fast round, a plain placement followed by an immediate retreat can be the best available choice. A delicate throw becomes expensive the moment setting it up gives defenders a free kill or leaves the carrier without cover.
3. Set your Turret and Alarmbot to answer different questions
Read the route, then read the Spike
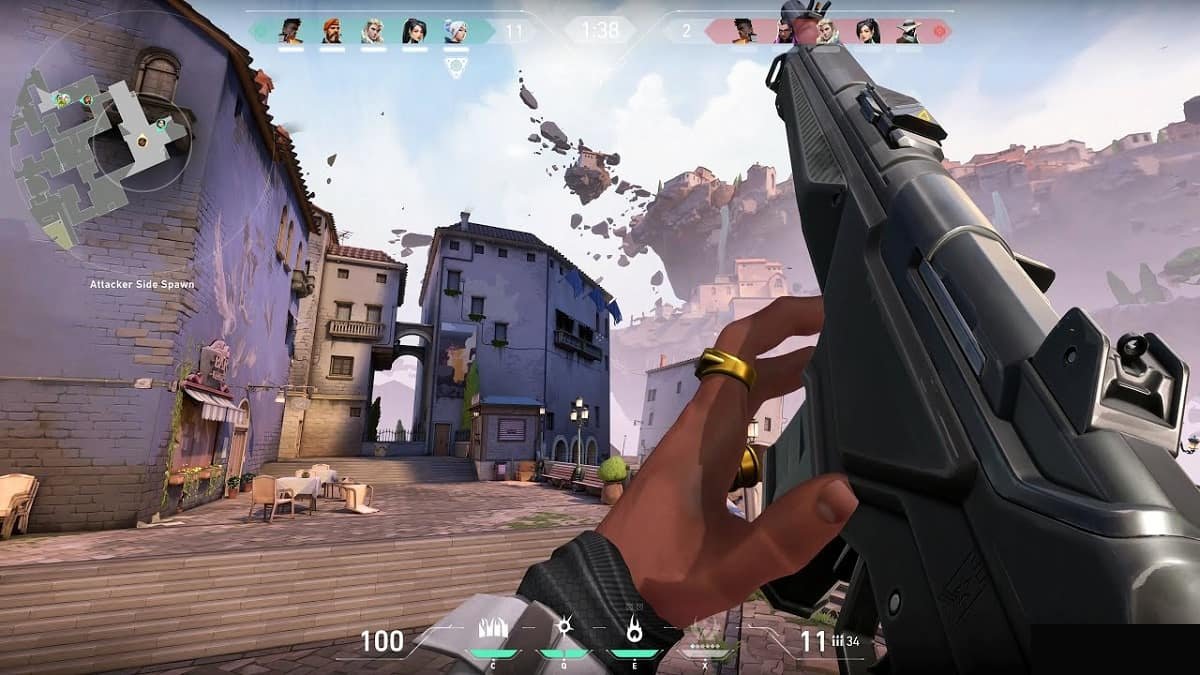
The Turret and Alarmbot can tell you where a retake is developing before the first defuse sound. The Turret fires at enemies it acquires in its field of view. The Alarmbot pursues a nearby enemy and can apply Vulnerable when it detonates. Their information depends on what each device covers and whether it remains active. Give the Turret a view of a lane a retaker must cross, then ask what you can safely do when it fires. If its contact tells you a defender is entering from the side opposite your rifle, the right response may be to turn your attention to the Spike because your teammate already has that lane. If your hold is alone, contact can tell you to shift behind cover before a defender reaches your exposed side. An Alarmbot set along a close approach can answer whether someone has entered the part of the site you cannot see, especially when the defenders have smoked off the long angle. A bot activation can also create a window to fight a Vulnerable target if a teammate is already ready to see that target. When neither defender nor Spike is visible, a device firing or going quiet provides one piece of evidence. Combine it with teammate calls, sound, and the location of your remaining sightlines before you commit a charge.
Include the retreat in your range check
Check your device status from your first post-plant position and from the cover you expect to use if pushed. An information setup can work perfectly while you are standing on site and lose its value after you move away. The decisive test is what it tells you from the position you will actually use to survive the retake. In a custom game, walk your normal retreat route and pay attention to the point where your Turret or Alarmbot stops covering what you planned. Compare that point with the first corner from which you can safely return to the Spike. If you must choose between active device coverage and surviving a collapse, take the safer route and adjust your read of the round. Tell your teammate that the lane is no longer covered so they do not interpret silence as safety. Device placement also changes what defenders know. If they see and shoot a Turret pointing down a lane, they may expect a swing from that side. You can hold a different angle and let their attention shift toward the wrong threat, provided the Spike still has an answer. The same principle applies when a defender backs out after encountering the Alarmbot. Take the information and preserve the position that keeps your next decision open.
4. Leave the plant with a rifle angle and a way back
Choose cover that still lets you act
Once the Spike is down, move somewhere that lets you survive the opening retake and threaten the objective again when necessary. There are two distances to consider. One is the physical distance from your cover to the Spike. The other is how many corners, smoke edges, and likely defender angles you must cross before you can stop a defuse. A close position around two blind corners may be slower to act from than a farther position with a direct lane and a safe side step. Ask where you would place your crosshair if a teammate called “sticking” right now. If the answer requires crossing a whole open lane with your weapon still being readied, you have moved too far from your usable answer. Look for a first position where you can hold your rifle, use your preplaced utility, and break contact after a short peek. Add a second position you can reach if that first one is smoked or pressured. The second position can be closer to the site if it lets you see around a smoke edge without walking through the middle. If you need to give up the first position, call the new angle in plain words. Your teammate needs to know where your support comes from before deciding whether to peek.
Keep the team from sharing one obstruction
Two attackers alive can lose all sight of the Spike to one smoke when both retreat down the same lane. That puts the defenders in a strong position because they can pressure one direction while someone defuses behind cover. When possible, split the jobs across nearby angles. One player can watch the likely swing onto Killjoy while the other has the better look at the plant. If a defender forces the first player back, that player should say which angle was lost and whether the other person needs to take over the Spike. The split should still allow a trade. A teammate standing so far away that they can only fight after you die contributes little to the immediate contest. Sometimes a site offers just one practical exit and the defenders have already taken every alternate route. In that case, create separation through timing. Keep one rifle ready at the edge while the other player moves, throws, or checks the plant. A spoken “I have the edge while you move” tells your teammate that they can finish the action. If a defender swings into both of you at different moments, it matters that the first player sees a clear target and the second can respond before the defender resets behind cover.
5. Spend the opening seconds collecting information
Let the first contact identify the real retake
The opening seconds after a plant often feel quieter than they are. Defenders are deciding whether to regroup, recover dropped utility, clear a flank, or retake immediately. You can spend that interval resetting your crosshair, locating your teammate, and noting the earliest route a defender could take to the Spike. When someone appears in a doorway, decide whether the fight serves your post-plant position. A clean shot from cover can remove a retaker while preserving every later option. Following a retreating defender around a box may give the next opponent an easy trade and leave the Spike unguarded. Think of the site as a set of deadlines. The first defender can arrive at a doorway before the second, but if you chase past it you may meet the entire retake group at the point where they want to fight. A player who hears a Turret burst and swings on the assumption that every defender is looking at it is making a bigger bet than the sound supports. A player who hears that burst, checks what their teammate can see, and holds the next crossing gets to use the same information with less exposure. This matters more when the plant was safe and tucked behind cover, because losing your close player may leave a clear defuse path that no distant teammate can see.
Make short calls that survive a fight
Choose the shortest call that transfers responsibility. “Two through the door” identifies the direction and gives a count. “I have the Spike” tells a teammate they can keep watching the defender who might swing on Killjoy. “First swarm running” lets the player with the clear rifle angle avoid stepping into the open simply because they heard a tap. “Half confirmed” changes how everyone treats the next sound. The words are easy to say in a quiet practice lobby, so test them during real rounds when teammates are talking about damage, weapons, and enemy positions at once. Put the important word first if there is only time for one sentence. Also preserve the distinction between what you saw and what you assume. A teammate who says “one crossed” knows something different from a teammate who says “both on site” after seeing one person disappear into smoke. Calling the uncertainty plainly lets everyone make better decisions. If the only useful fact is that your line got smoked, say that and keep your rifle ready for the exit. The person with the remaining sightline now knows they are the immediate source of confirmation and can hold their attention on the plant area.
6. Judge the first tap against the defuse clock
Use the halfway checkpoint to decide how much to spend
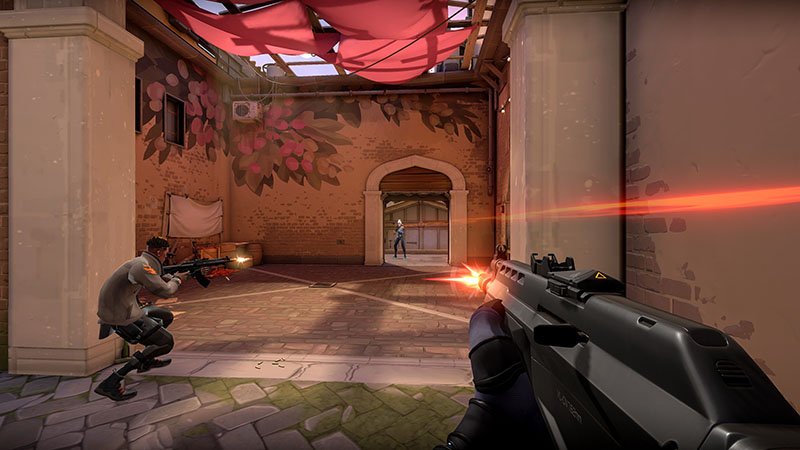
A standard planted Spike has a 45-second countdown. A full defuse takes seven seconds, and progress saves at the 3.5-second halfway checkpoint. A defender who stops before halfway must start the full defuse again. Once the checkpoint is reached, only the second half remains, even if another defender takes over. The first sound therefore tells you someone began interacting at that moment, with several possible outcomes still ahead. An early tap from a defender who has a teammate waiting for your swing can be a way to force you into a rifle fight. A sustained attempt from behind a smoke can bank half while the same teammate protects the exit. Let reliable vision answer the question when a teammate has it. If there is no view, ask whether waiting for further evidence would take you past the latest moment you can safely act. Account for the time you need to activate, move, peek, or aim. A plan that spends the entire first 3.5 seconds listening leaves no margin for the action that has to follow. Early in the post-plant, giving up half can make later taps far more expensive to answer. Late in the post-plant, the same checkpoint can be the difference between a defender having a chance and running out of time before the attempt can finish.
When the smoke hides the defender
Imagine you hear a tap shortly after a smoke lands and your teammate has just reported that they lost the plant angle. Your first grenade covers the expected defuse feet, you can activate from cover, and the second is ready to answer a return. Using the first is a sensible way to contest the part of the site you cannot see. Now change one detail. Your teammate can see the defender's feet from another angle and says the defender tapped and backed off. In that version, your rifle can stay on the protecting defender's swing while you save the charge. Change the example again. The first tap is late, there is probably already half progress, and the defender is one short hold from winning. The same decision now favors acting earlier because waiting for certainty can cost the round. In practice, the clock rarely feels as precise as it does in a written example. Use the faster Spike rhythm, teammate calls, and confirmed checkpoint state together. A higher-pitched defuse cue can also help identify a resumed attempt from halfway when you can hear it clearly. Build enough margin into your response that one missed sound or a short movement delay does not decide the result.
7. Chain your Nanoswarms across separate attempts
Make a defender step away and decide again
After the first activation, keep your rifle available and watch what the defender does with the space. A player forced off the Spike may retreat to a box edge, step outside the damaging area, or try to reach a usable defuse position from another side. If you have sight, follow the movement with your crosshair and let your teammate cover the most likely swing onto you. If you have no sight, listen for a renewed attempt and check whether the first swarm is still covering the place where the sound came from. A tap during the swarm can mean the defender believes the edge is safe, or that their health and the time left make the gamble worthwhile. Treat that possibility as a reason to know your own coverage in advance. Once the first swarm has done its work, the second becomes a tool for making the defender restart, move again, or choose a worse angle. Firing it simultaneously with the first may be appropriate if your two placements cover distinct reachable positions and the defender could simply shift between them during the final attempt. For two charges covering the same position with substantial time left, staggered activations usually create more decisions for the retaker. Your exact sequence depends on how much ground each grenade covers and whether a rifle can punish the exit.
Keep a response ready between activations
The awkward moment in a double-swarm setup comes when the first area clears and the defender is ready to step back in. If your whole team is watching the same empty doorway or waiting for you to announce the second activation, the defenders can use that transition to take space. Establish a rifle angle that covers the likely re-entry before the first swarm ends. When a teammate can see the defender leave, ask them to call the direction. A player leaving to the right of a box can turn the left side into the quickest route for the second defender to reach the Spike. If you are alone and holding the remaining grenade in inventory, check whether equipping and throwing it would give away a close fight you are about to take. The best moment to deploy may have been while the first swarm was active and you still had cover, provided the placement was safe. If that window has closed, the rifle may be your faster interruption. Equally, a defender showing briefly at the edge of a smoke can be bait while the other player stays on the Spike. Keep the objective in view whenever possible and let the defender's likely remaining defuse time determine how long you can chase the visible target.
8. Solve a smoked Spike with a specific interruption
Choose between damage, a new sightline, and a short peek
A smoke can separate the player protecting the Spike from the player who knows where the defuser is. Before walking through, recall the plant's position against fixed cover. If it sits against the near face of a box, aim at the likely defuser position from a lane that limits your exposure to the protector. A short, informed burst can force movement or interrupt a vulnerable defender. A long spray through an uncertain patch can expose your location and leave you reloading when a defender exits. If another angle lets you see a foot, a shoulder, or the route to the Spike, the small rotation is worth considering while there is enough time. If the retake is already at half and the final tap has started, the extra path may be too slow. A preplaced swarm that covers the hidden position is attractive because it can put pressure on that space while you keep your rifle trained on the smoke edge. If you have no usable grenade, take the shortest contest with the best trade available. Your teammate can hold the defender's most likely swing while you step far enough to check the objective. When alone, pick the route that exposes you to the fewest threats at once and pre-aim at the place the defender is most likely to occupy.
A priority list for a lost sightline
- Identify the actual plant position using its relationship to a box, wall, or corner.
- Check whether a teammate still sees the defuse position from another angle.
- Use a surviving swarm if it covers the defender's likely feet and the attempt threatens meaningful progress.
- Assign one rifle to the protector's likely swing when two attackers are alive.
- Commit to the shortest usable rifle interruption when the remaining defuse window demands it.
Here is a concrete two-versus-two. Your teammate can see the site entrance but loses the plant to a smoke. You can move a few steps toward the side of the box and see where a defender would emerge, but a second defender could punish you from the entrance. Call for your teammate to hold that entrance, activate the first swarm on the tap if the covered position is threatened, and take your short side angle while the defuser decides whether to move. If your teammate sees a defender abandon the plant and run through the doorway, you can let them take that fight while you stay ready for a second attempt. If the swarm has been cleared, your teammate can still hold the entrance while you make the fastest available visual check. The benefit comes from defining both jobs before moving. Two players pushing into the middle of the smoke together can both lose track of the Spike and expose themselves to the same protector. Two players using separate lines of sight can make a single smoke far less effective even when the defenders picked the right place to throw it.
9. Use Lockdown to force movement while time still matters
Place it for the exit routes as well as the radius
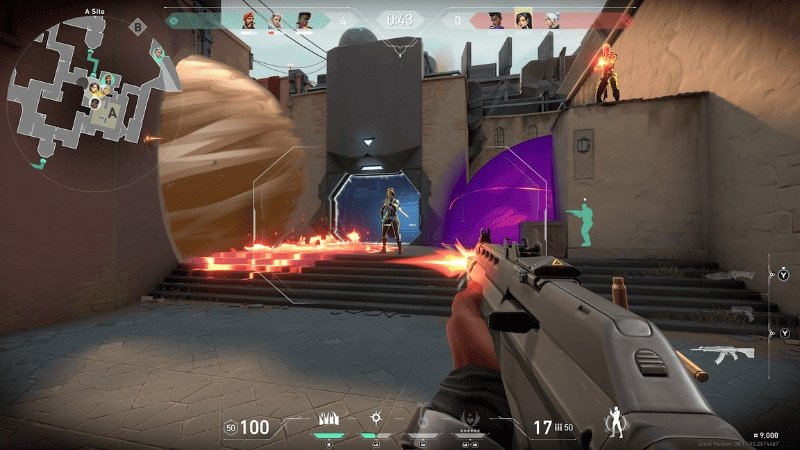
Lockdown can shape a post-plant when you have a defensible placement, enough time for its windup, and a way to punish the routes defenders will use to leave its radius. Look at where the Spike sits within the threatened area and where retakers can safely wait outside it. If they can step back around a corner for free and return to a covered plant with plenty of time, your team still needs a plan for that return. If leaving the radius forces them through your teammate's sightline or delays them until their next defuse attempt is desperate, the ultimate can influence the round even when nobody is detained. Protect the placement from a direct swing and consider which enemy utility has already been used. The device can be destroyed, so you still need an answer if an opponent clears it during the windup. Pair it with a normal post-plant position that keeps your rifle and any surviving swarm relevant. This can be as simple as placing it behind cover, telling your teammate which exit to hold, and then returning your attention to the plant. Avoid spending the whole windup watching the device if the Spike is already reachable and a defender can finish before the effect arrives.
Compare two timings in the same position
Suppose your team plants in view of a long lane and you have Lockdown ready behind solid cover. In the first version of the round, the defenders have yet to reach site. You place the device as your teammate takes a position that can see one exit. The defenders now have to evaluate whether they can destroy it safely, play outside its reach, or attempt a fast contest before it fires. A surviving swarm on the plant makes that fast contest harder. In the second version, the defenders are already on the Spike, a teammate calls half, and you are behind a corner only a short step from a rifle angle. Starting the ultimate here is a slower answer to the immediate problem than contesting the defuse with a swarm or your weapon. The same placement can be excellent in one version and irrelevant in the other because the defender's deadline has changed. In a custom session, set up both situations with a partner. Watch when the defender can start interacting, how they leave the area, and whether the teammate assigned to the exit actually sees them. Adjust the placement if it sends the defender toward cover that gives them a free route back to the Spike. That rehearsal tells you what the ultimate buys on the specific site you intend to play.
10. Close the round and review the first decision that failed
Play the last attempt in a one-versus-two
Picture a late one-versus-two. One defender has reached the Spike, the other was last seen on the side that can swing onto your cover, and you have one swarm remaining. You hear the tap. If half is confirmed or strongly supported, treat that attempt as an immediate threat. Activate the swarm if it reaches the relevant position, then keep your crosshair ready for the second defender who may use the activation as a signal to fight. If you hear another tap after the area clears, the new question is whether enough time remains for that defender to finish. When there is time, take the fastest contest from the angle you prepared. When you can confidently account for the remaining defuse time and the defender cannot finish, your priority shifts to surviving the swing and moving clear of the explosion if you are nearby. Leave yourself margin when the timing is uncertain. In the version where your last swarm has been destroyed, your most useful earlier decision was choosing a hold with a clear route back. Peek far enough to stop the defuse, use cover to limit the second defender's trade, and reset when the opponent has been forced off and there is time to do so. Each extra second the defender spends fighting you or stepping away comes out of the same countdown.
Review decisions in the order you made them
After the match, review one won post-plant and one lost post-plant with the same plant or a similar position. Pause when the carrier starts planting and name the angle the team intends to use. Pause again when you put down your first grenade and identify whose feet it is supposed to reach. When you hear the tap in the recording, stop before your reaction and list the facts you actually had. Did a teammate have sight? Was the charge still intact? Had anyone confirmed half? How long would your rifle take to get an angle? Watching from the end makes every mistake look like a late activation or a missed shot. Reviewing in order often reveals a simpler cause. Your crossfire disappeared when both players chose the same corner, or the carrier planted on the side the team had already abandoned. Change one variable in your next practice block so you can see what it fixes. If the problem is late access to the Spike, practice the return angle on that one plant. If a smoke repeatedly cuts off your vision, practice the same setup with a partner holding the alternative view. If both charges disappear together, rehearse spacing or holding one back. The strongest practice result is a repeatable answer to a particular loss you can recognize the next time it begins.
Conclusion. A good Killjoy post-plant starts with an agreement about where the Spike will go and who will be able to see a defender touching it. Place your first Nanoswarm where it can cover the defender's safest attempt, choose where you will fight if that grenade is cleared, and make sure your retreat keeps that fight within reach. Let the Turret and Alarmbot narrow down the direction of the retake while your teammate calls what is happening at the plant. When the first tap arrives, work from the checkpoint, the visible threat, and the action you can complete in time. One swarm can cover a blind attempt while your rifle protects the exit. A second can force the defender to start again after they have already spent precious seconds reaching the Spike. On your next attacking half, pick one site and one plant you expect to use repeatedly. Agree on a sightline, practice the defuser's likely feet from both approaches, and play several rounds with the same core setup. Notice whether the decisive change was the grenade timing or whether the earlier plant and position finally let you wait for the right attempt. Once you can recognize that difference, you can carry the same decision process to a new site even when every box, doorway, and smoke edge is in a different place.